Mission: The Ships Log
Marine objective: Get the Black Box, and exit back off the board with it.
Genestealer objective: NOM NOM NOM!
Players:
Marine, Brother-Captain Rommel of the Dark Angels
Genestealer, Mick.
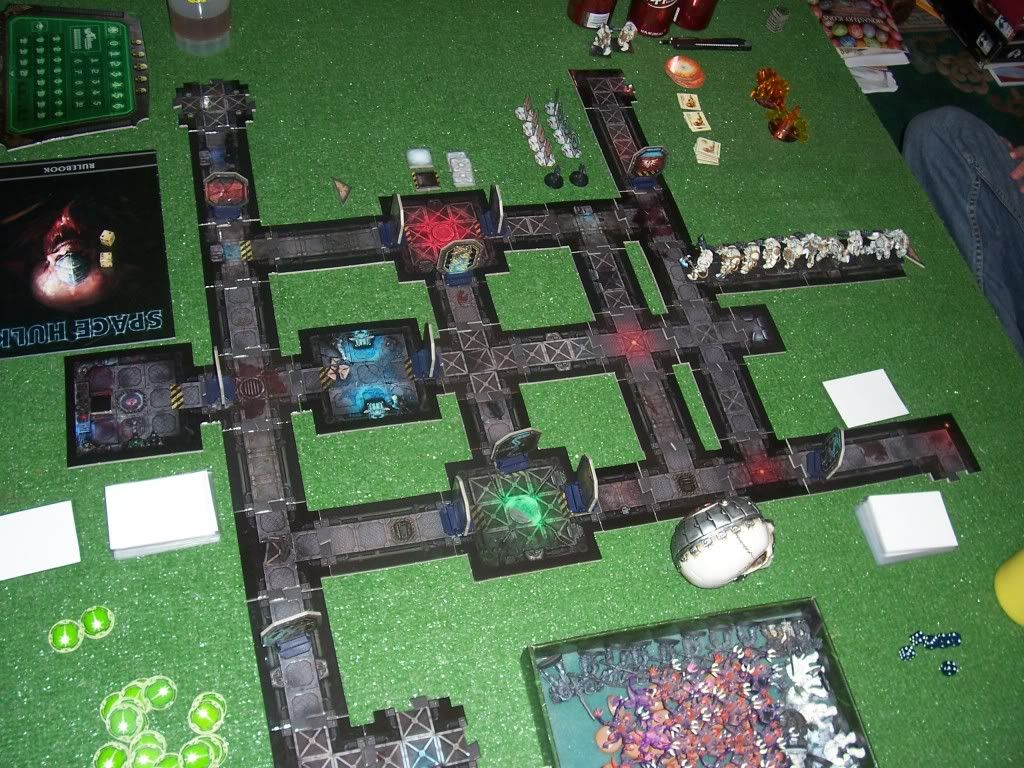
Setup:
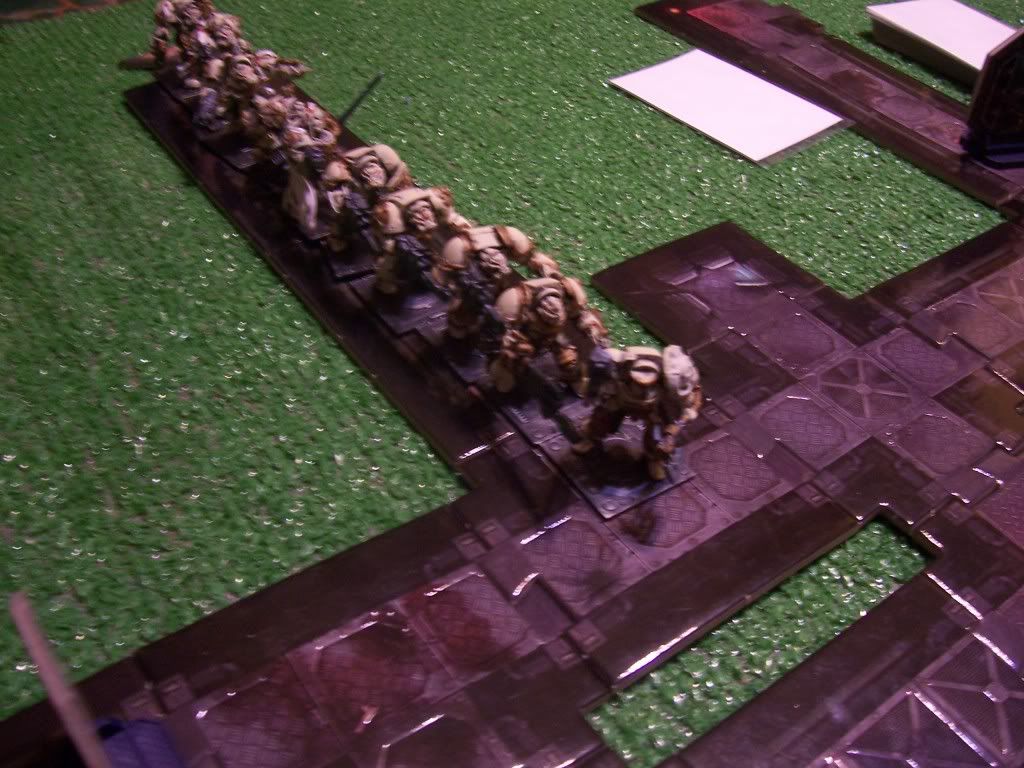
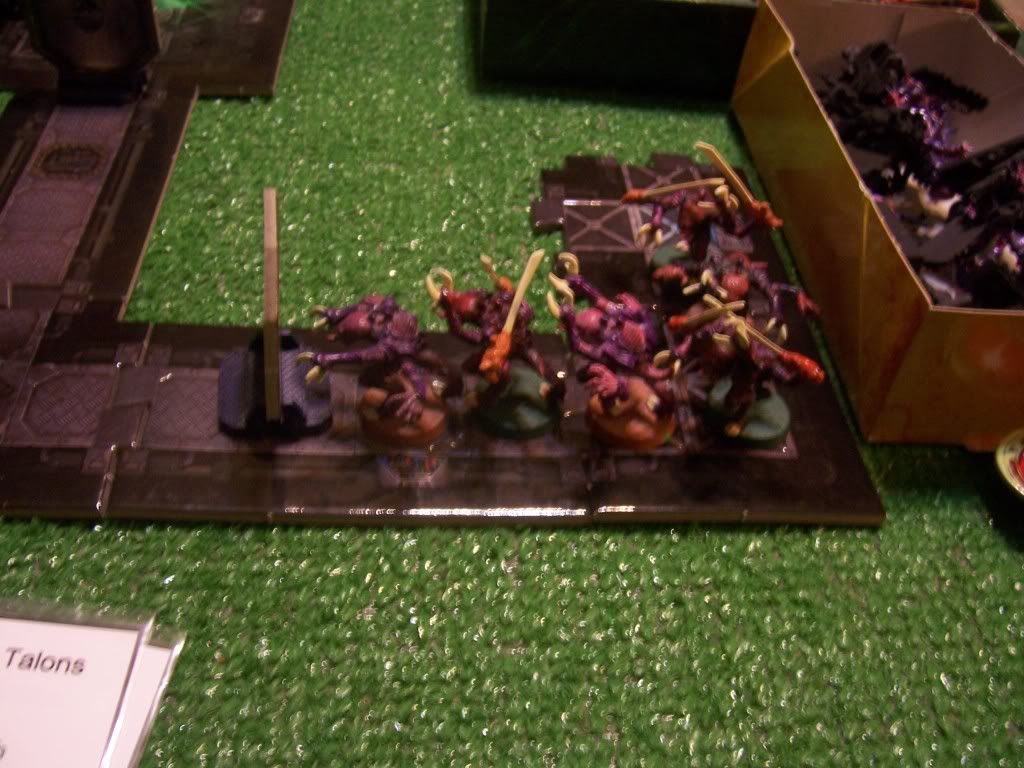
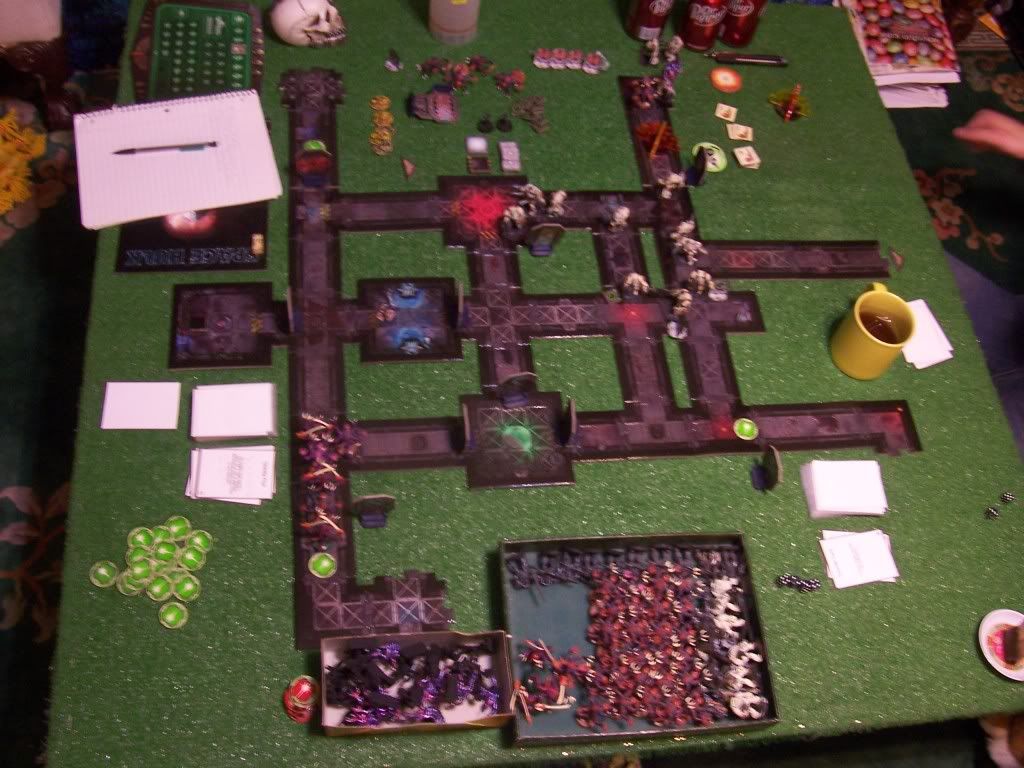
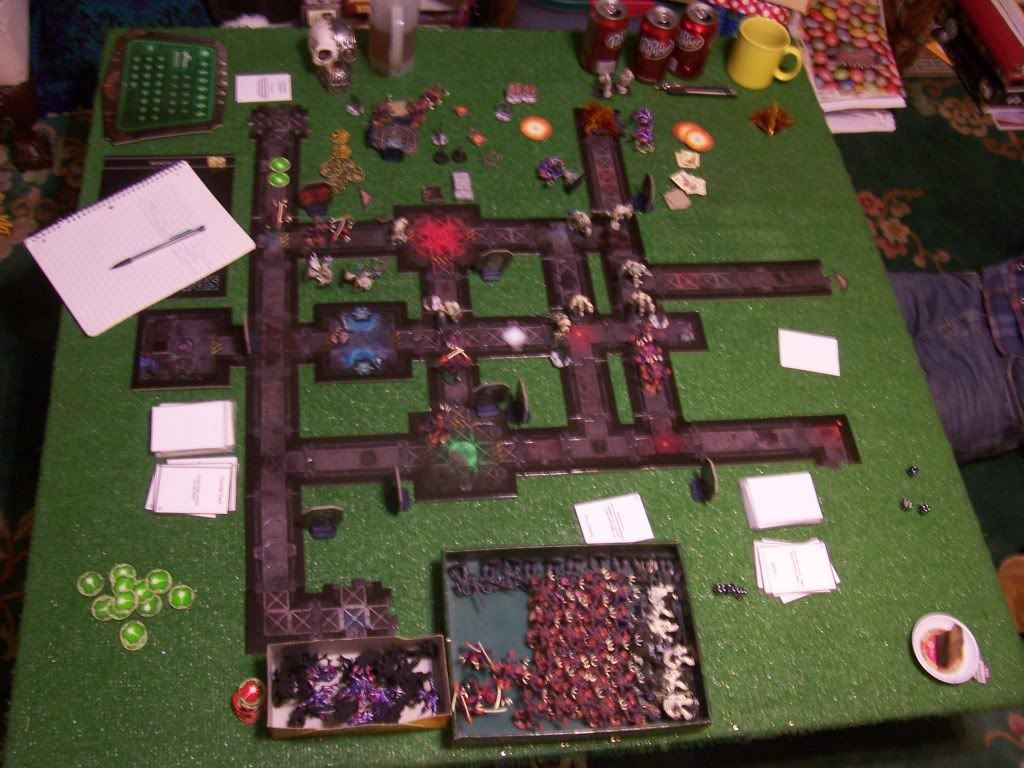
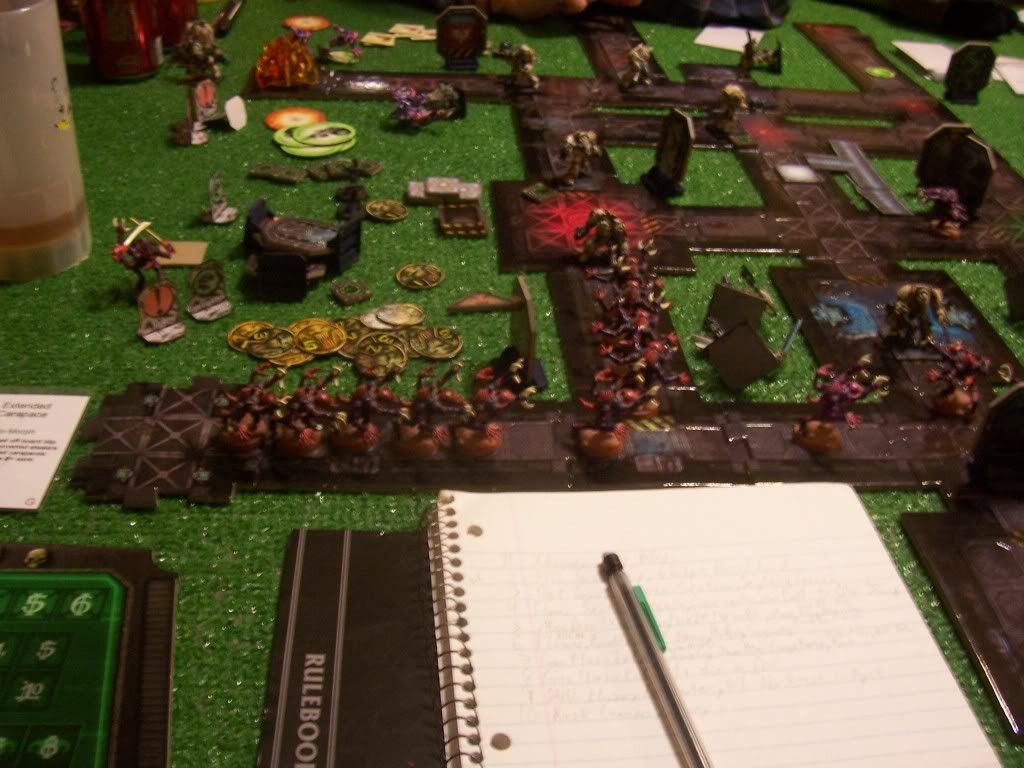
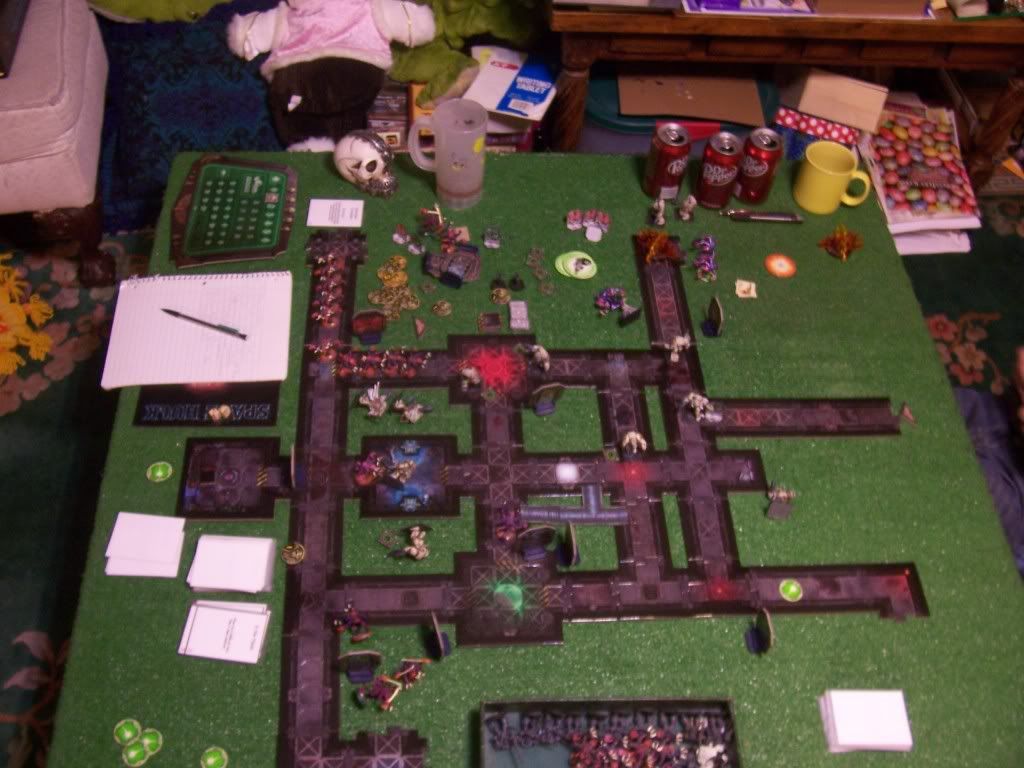
We utilized the extended blip set from 1st edition (1 to 6 per blip instead of 1 to 3), with the XT action cards. Two marine squads with a Sergeant, one with a heavy flamer and one with an assault cannon.
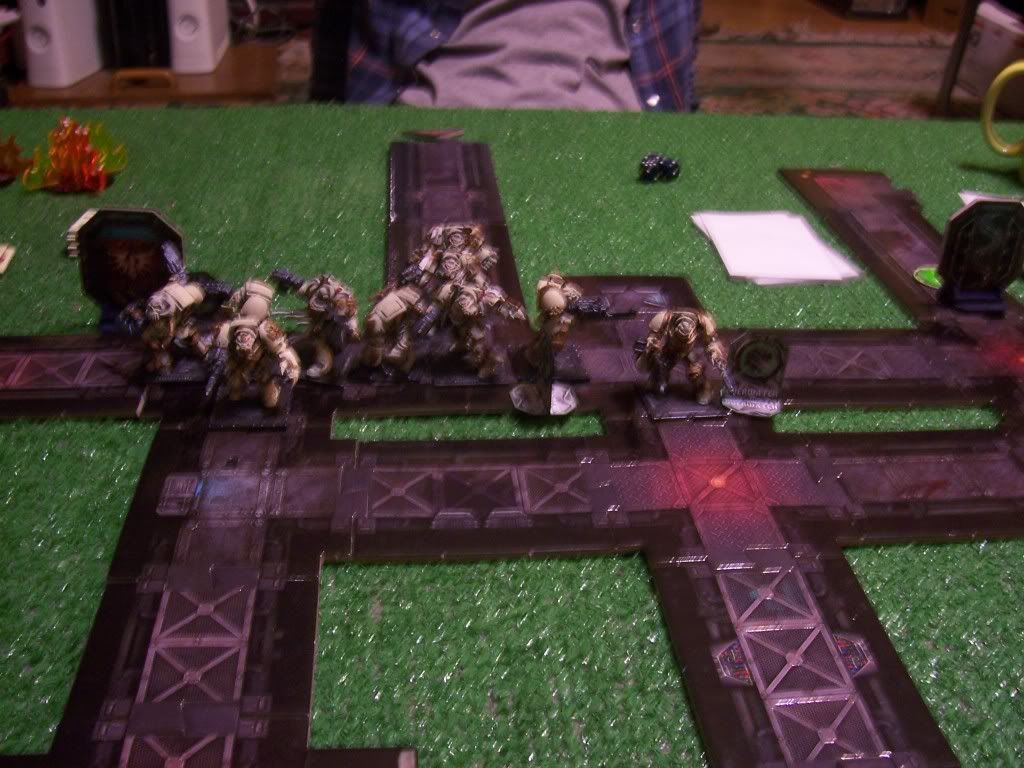
Turn 1, Marine:
The marines started off in a fairly solid position, and got through some decent manuvering on turn 1. They got off to a less than auspicious beginning, however, when the lead sergeant spent four AP moving and shooting at a door, and missed every time.
Turn 1, Genestealer:
A good start for the stealer player, with two "3" blips. One moved up by the door near the sergeant with the power axe and the terrible aim, hoping that his streak of un-luck would keep. The other moved up the near halway on the other side of the marines.
Turn 2, Marine:
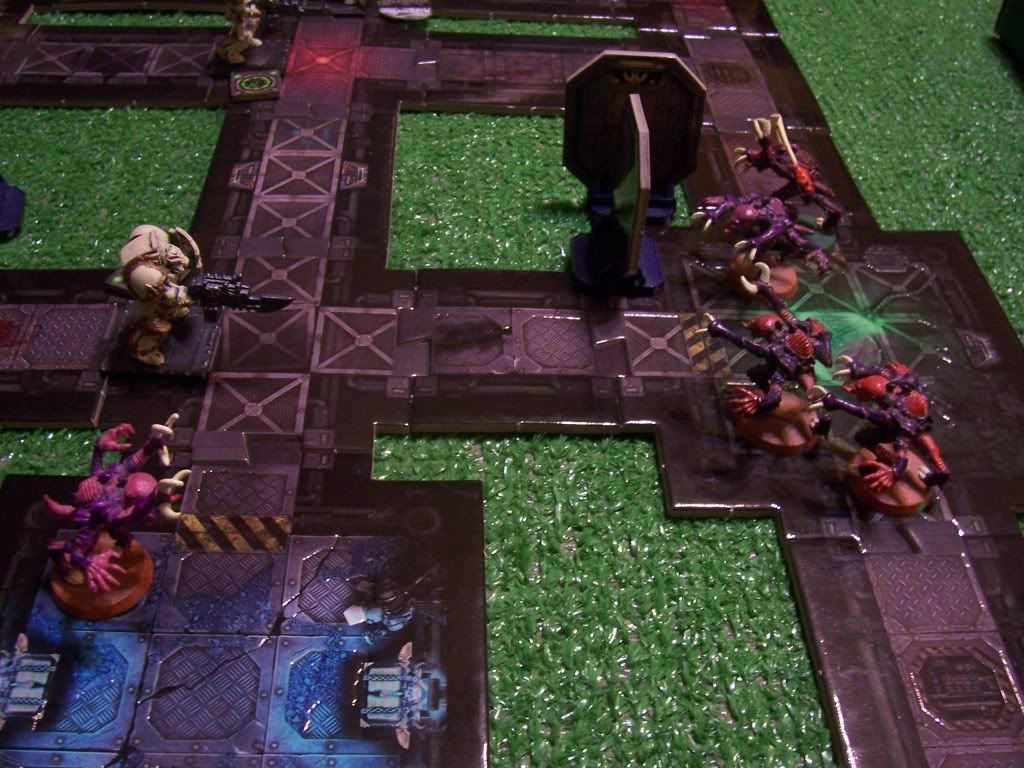
The sergeant moves up to the invincible door and opens it, and realized with an AW SNAP of alarm that there were three stealers on the other side.
This does a good job of waking him up (apparently the new battle-brother forgot to load the coffee pot on the thunderhawk) and he proceded to kill all three of the stealers in one shot each, freeing up the other marines to move into the beginnings of a defensive position.
Turn 2, Stealer:
The stealers had an even better draw this turn, resulting in a 6 and a 4. I popped the 6 first, to rush the sergeant and hopefully make him jam. He did, on the first shot!
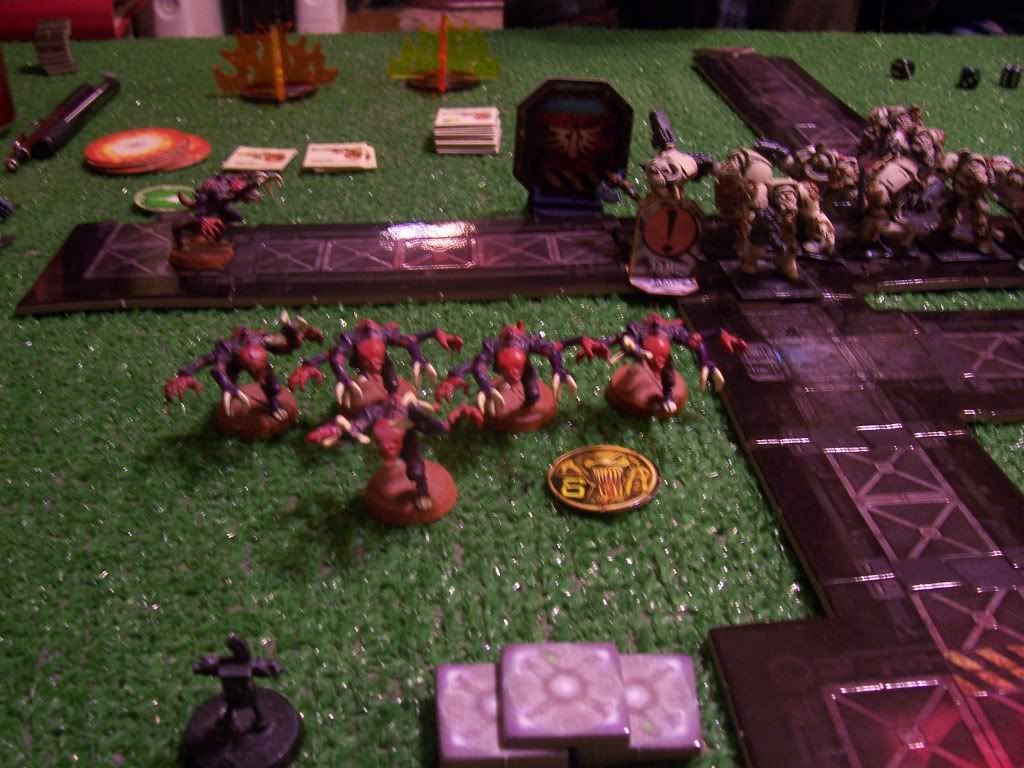
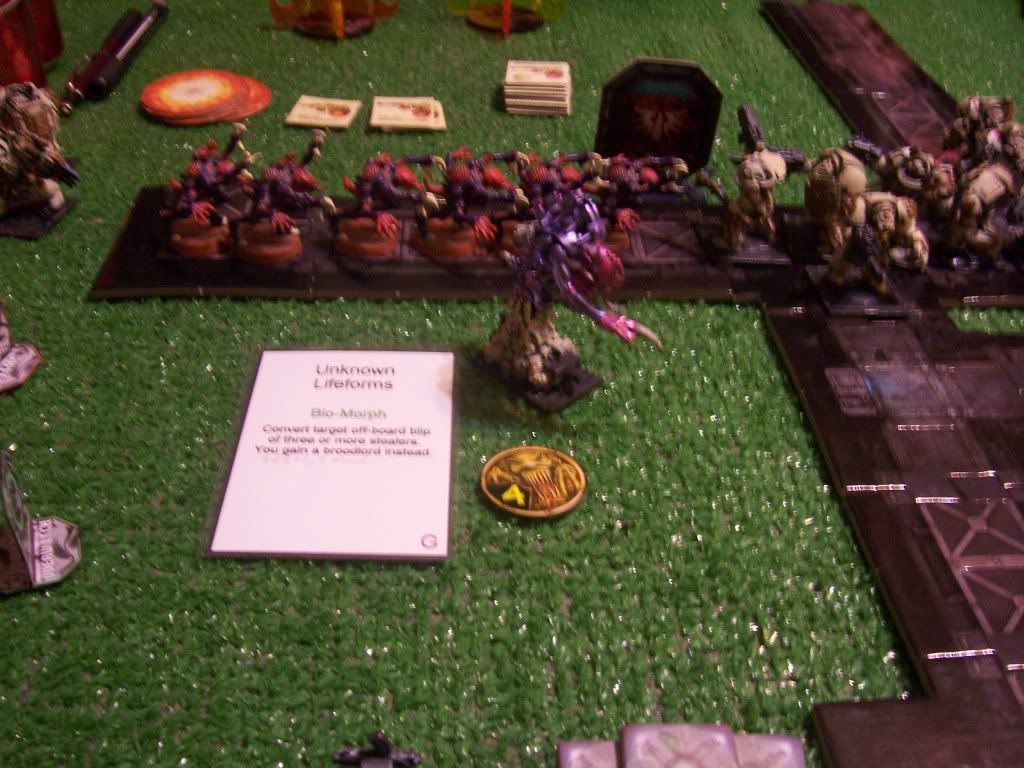
Immediately following this, I advanced with all six stealers. Then I popped the four, while playing the "Unknown Lifeforms" bio-morph card, which replaced the bilp with a Broodlord. For purposes of XT, the Broodlord is much like the Patriarch (4d6+2 in melee) but he has two wounds, so it will take at least two attacks to kill him. This makes him a much better siege-breaker than in 1st ed, but avoids the silly rules from 3rd.
Turn 3, Marine:
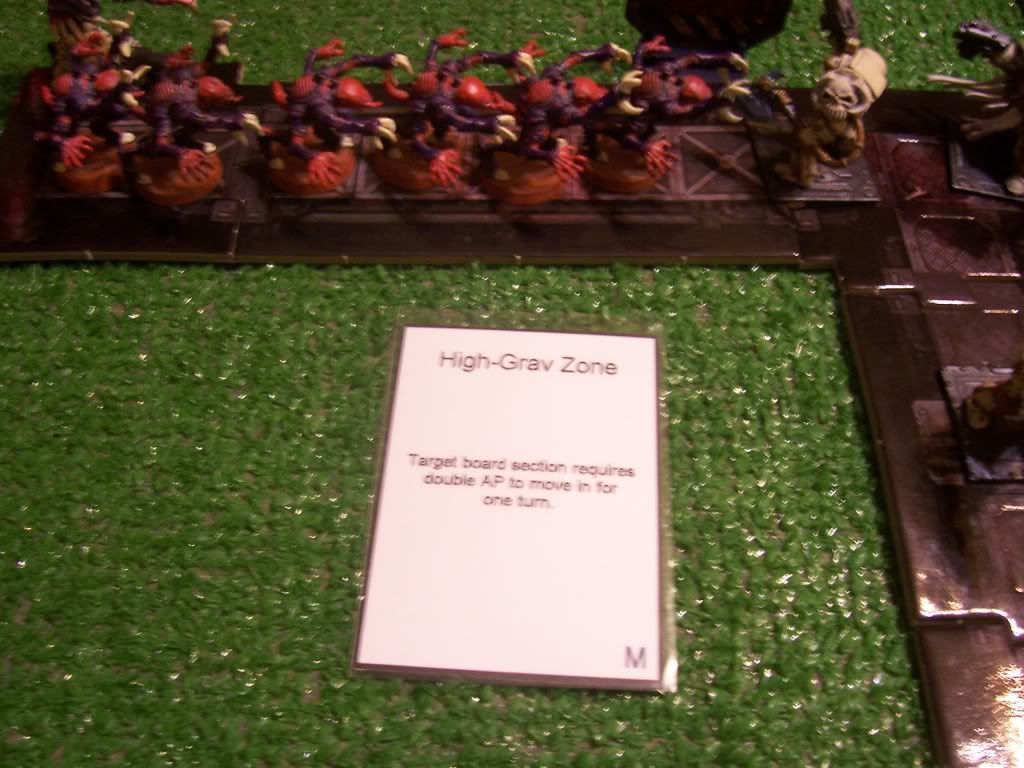
Brother-Captain Rommel responded to my assault with a "High-Grav Zone" which doubled the AP required to move on the long hallway section for one turn.
Then with a fancy song and dance routine, the marines managed to flame the section killing all but the last of the stealers. They didn't have enough points to flame again, but the stealer could only move 3 squares so it was a moot point.
Turn 3, Stealer:
I moved a 5 blip of stealers onto the board while playing the "Scything Talons" bio-morph, which gave three of them parry. (Note, this card was removed from the game after this particular play-through. We deemed it too powerful to fit with the power curve of the rest of the cards.)
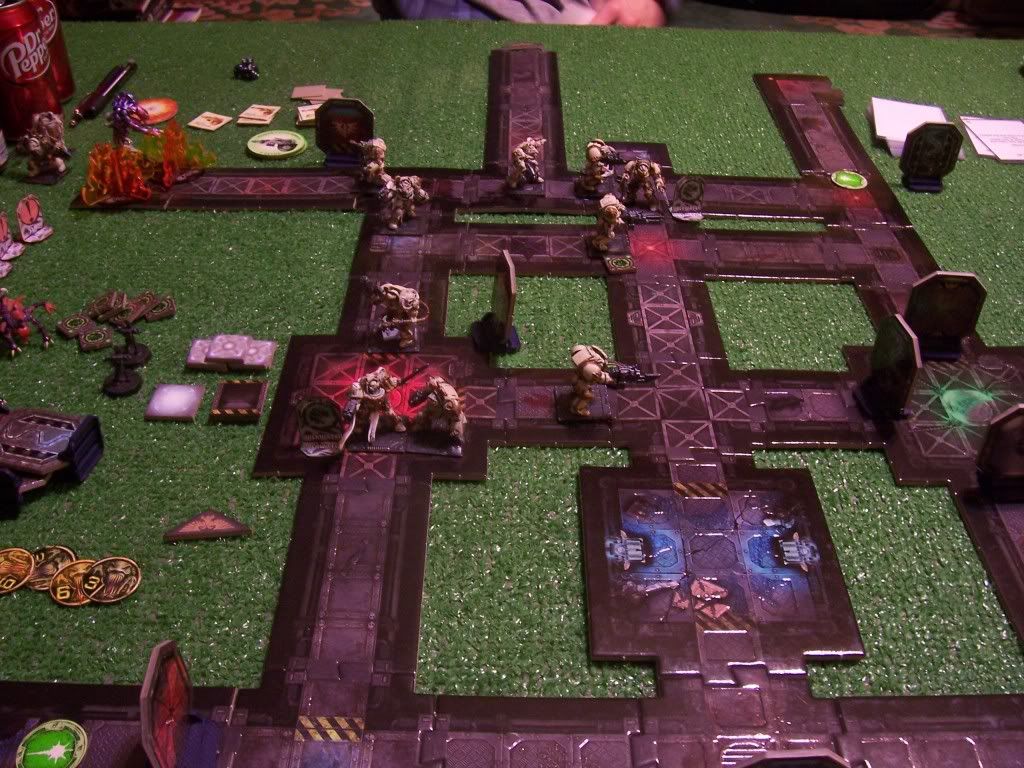
Turn 4, Marine:
The flamer hit the section in front of him again, blocking off the broodlord but removing his fire power from the main assault. I attempted to stop this by playing a cave-in right in front of the flamer, but Brother-Captian Rommel stopped this with a counter card he'd been holding in his hand. The other marines moved up in to better defensive positions while advancing on the objective. He also played "Gravity Fluxx," slowing down all models for a turn.

Turn 4, Stealer:
I attempted to move some models across on the opposing side of the marines, but all three died moving in the only open square.
Turn 5, Marine:
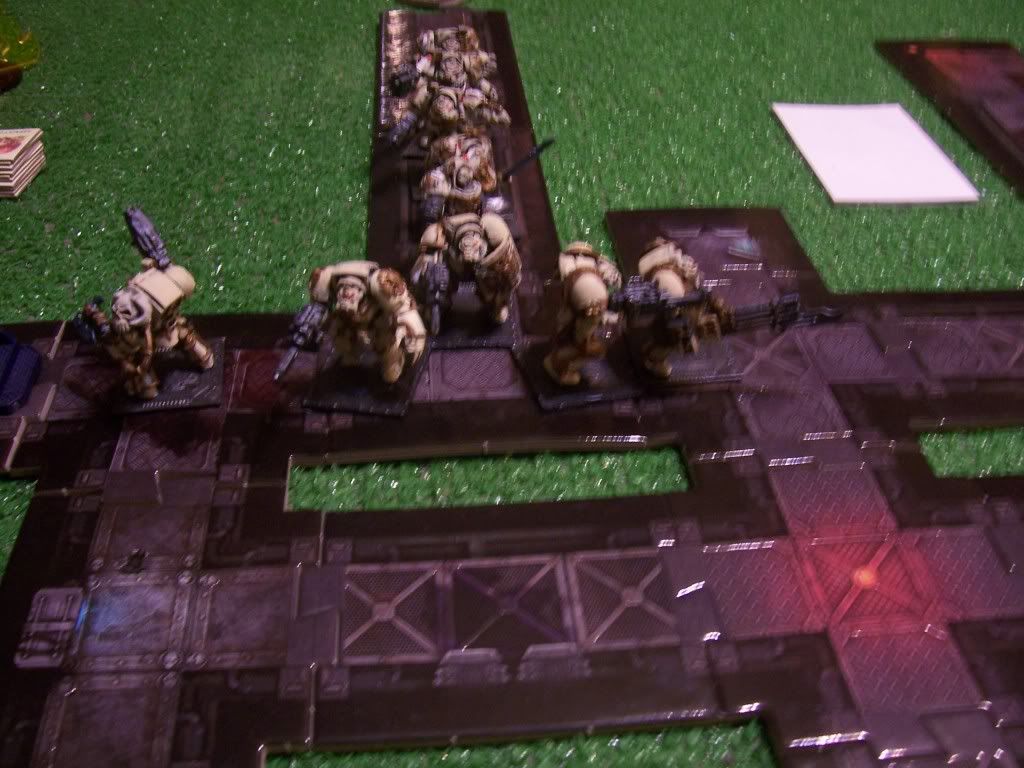
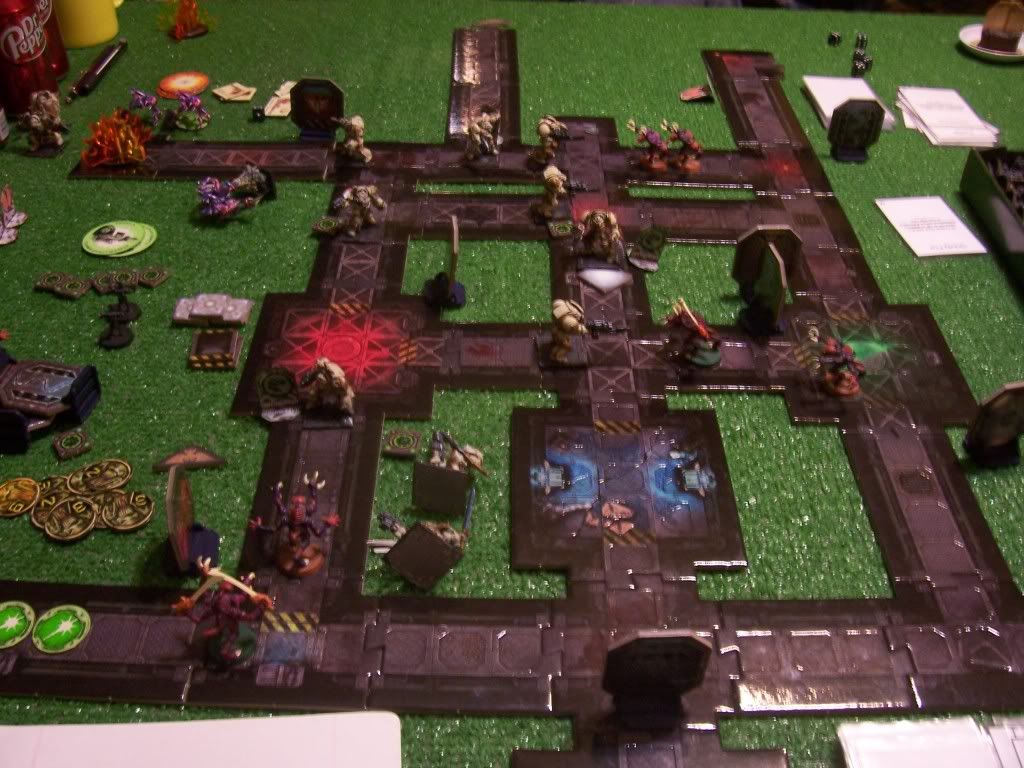
The section with the broodlord got flamed twice, but only caused one wound to the BL himself. Note the stylish com-tower array offboard just behind the marines.

The assault cannon wasted two shots on a door, missing both. The other marines continue their advance towards the objective, using the "Move IT!" order card to shift two of the marines one step closer.
Turn 5, Stealer:
I rushed the flamer with the BL, but ended up one square away. Next, I amassed my stealers near the hallway the sergeants were advancing down.
Turn 6, Marine:
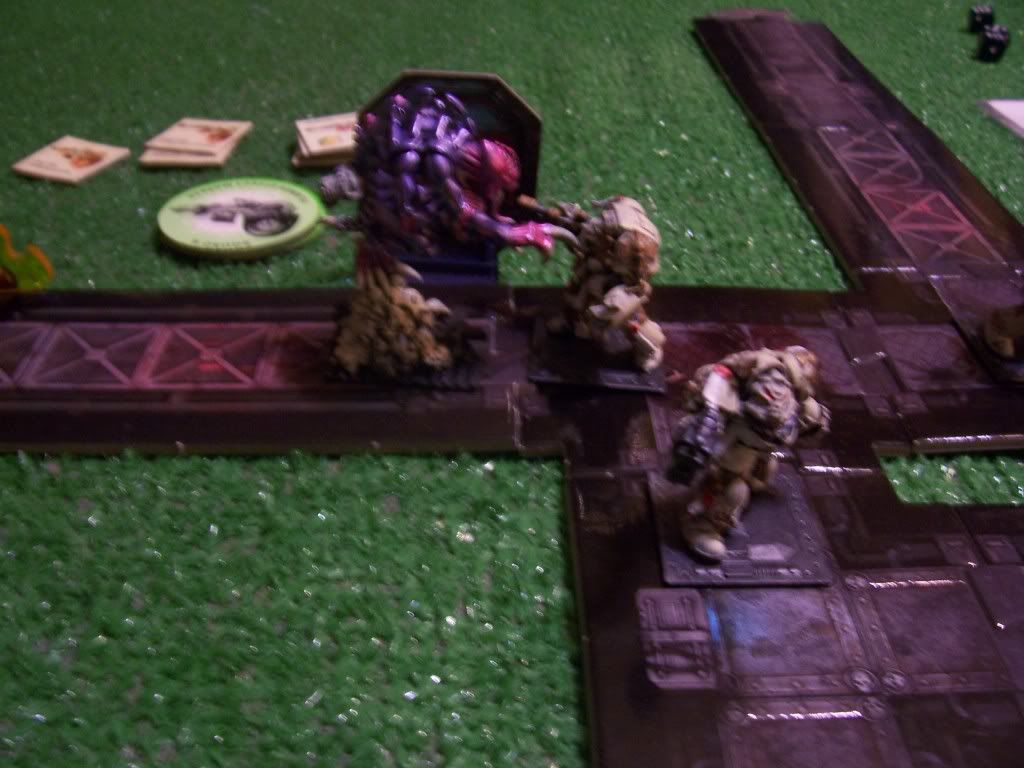
The flamer finally kills the Broodlord, but thanks to my "Fumble" card he had to re-roll his attack and ended up spending his last shot. The sergeants decide that it's balls to the wall time and charge up, going on overwatch. The rest of the marines move to cover the center with the assault cannon. Another "Gravity Fluxx" to slow the marines down a bit more.
Turn 6, Stealer:
I moved up to mob the corridors near all of the marine advance points.

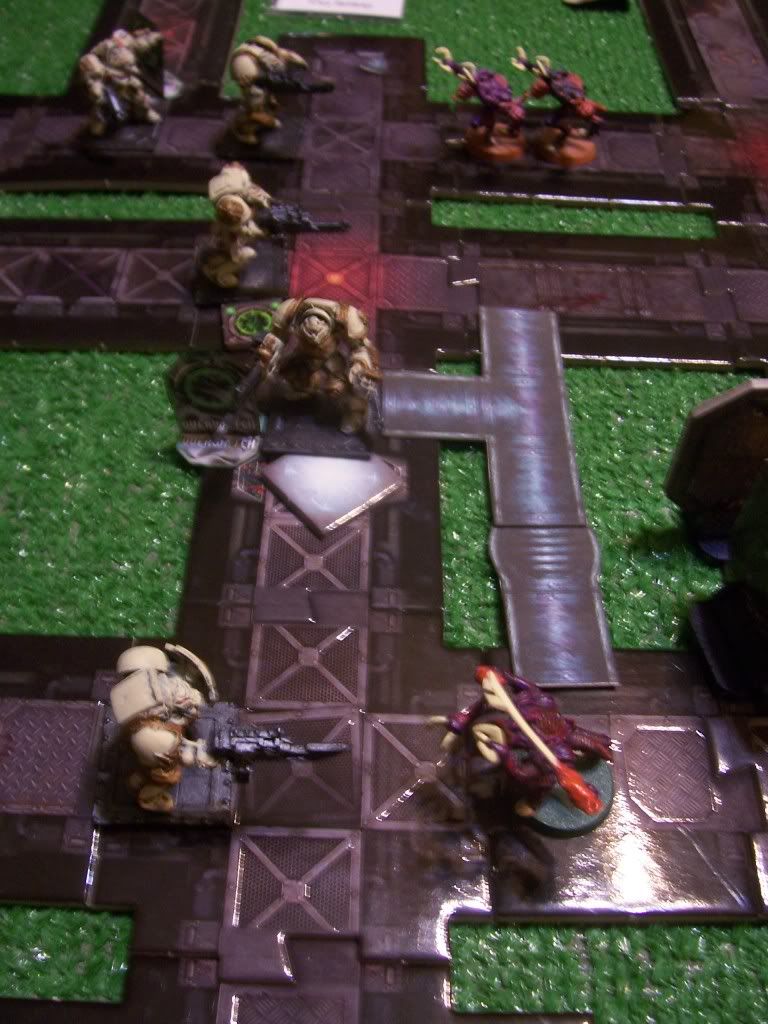
Turn 7, Marine:
The marines stayed in nearly the same position, except for the sergeants which moved up on overwatch again.

Turn 7, Stealers:
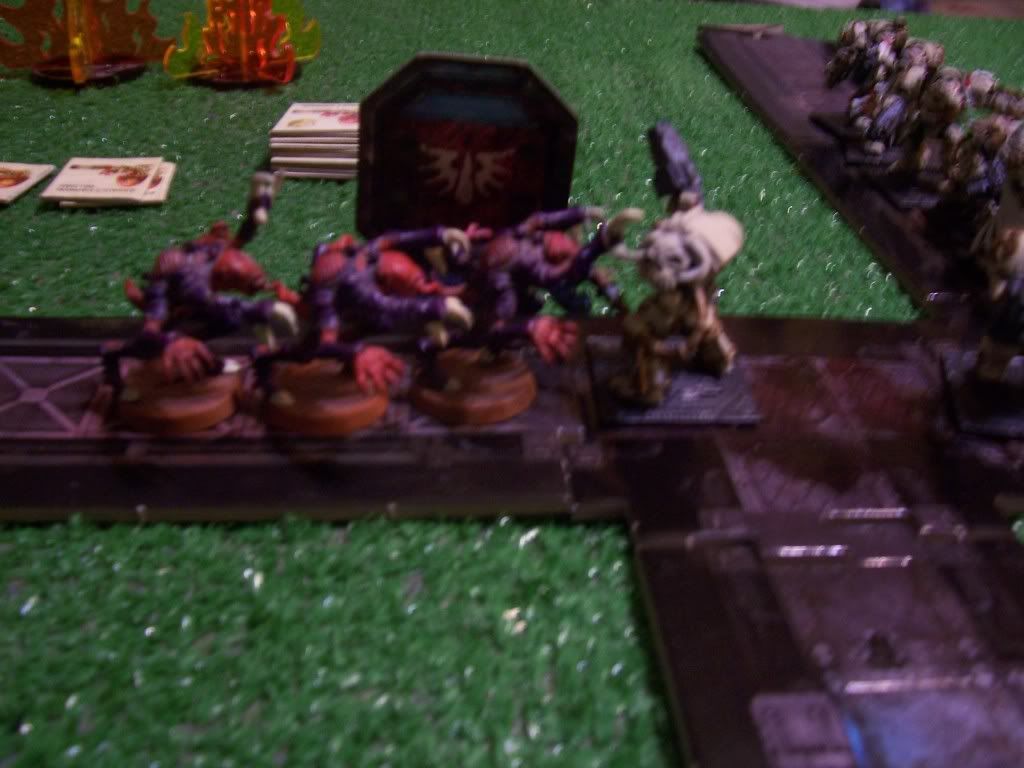
I played the "Extended Carapace" bio-morph card on a few stealers by the flamer, which according to the Brother-Captain "Makes the baby god-emporer cry." This gives a stealer a 5+ save if they take a wound. Regretably, as I moved the first one up the marines spent 2 CP to flame the section in response, stalling the others. Then I used "Bio-Goop" in front of the assault cannon, blocking his LoS so I could rush and Jam the marine he was covering.

Then I rushed the sergeant, getting into melee with the first of my stealers. Four counter/fumble/lucky shot cards later, we ended in a tie for the first attack. Then the marine sergeant won, which freed up the first scything talon stealer's path. At this point we discovered that parry on a stealer was a tad OP, and he tore through both sergeants. I had enough stealers in reserve that this likely would have been the case regardless, but it did highlight just how nasty they were nicely.
Turn 8, Marine and Stealer:
By this point I had pretty effictvely squashed the marines origional advance, and kept the flamer tied up all game with just a few blips. Between the marine turn and OW fire most of my stealers kicked the bucket, but having killed the first wave this was more than a worth while trade in my opinion.
Turn 9, Marine:
The Brother-Captain moved up his center a bit, hoping for a few great CP draws to allow him to rush with his cannon the next few turns.
Turn 9, Stealer:
I played one of my favorite cards, "In the pipes!" This let me place an air duct to mess with the marines a touch.
Turn 10, Marines:
The Assault Cannon rushes foreward with his huge CP draw, getting him almost to the objective.
Turn 10, Stealers:
I pulled out all the stops, and rushed forward with all of my stealers.
Turn 11, Marine:
The cannon advanced, but with the poor CP draw is fairly stuck this turn, and running low on ammo. Then...
Turn 11, Stealers:
I advanced on the cannon. With just a bit of luck on my side, he ran out of ammo before I ran out of stealers in range. The last few managed to drag him down, and the Brother-Captain called for a tactical withdrawl.
Tasty.
-M
Good Report. One thing I would like to see in future though, would be a detailed (more or less) description of the actual effect of the cards. As it stands, just by reading this report, I have no idea what the cards do, other than in a very general sense. I'm not saying that there needs to be an in-depth analysis of each and every card, but an overview would be nice.
ReplyDelete