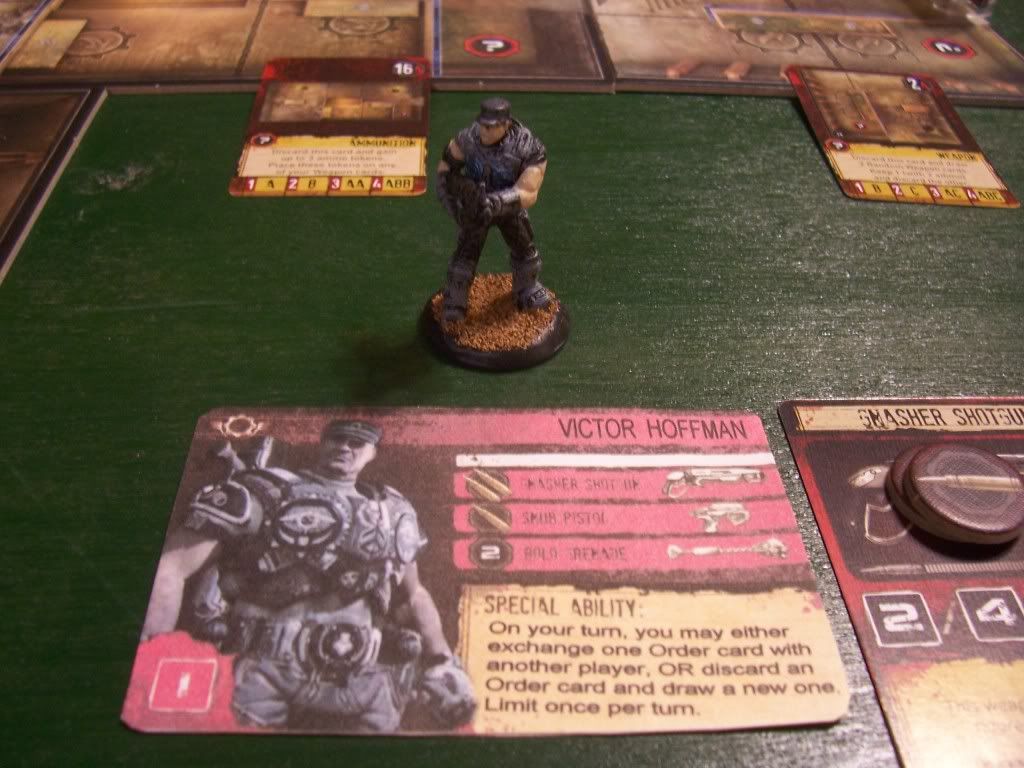
This is a Gears of War battle report with my custom Col. Hoffman, in mission number 1: Emergence.
Hoffman’s special ability is both nice for team play and solo. Once per turn, he can either swap one of his cards for a new one, fresh from the deck, or he can exchange a card with another gear. As long as you’re in a position to plan ahead, this is great, though since he can only do it on his turn, you do still have to play cautiously with it. To balance with this, Hoffman starts out with a Gnasher Shotgun, making him very short ranged until he can pick up a new weapon. Unlike Dom, he does not have the ability to move an extra area per turn for free, so while he is more versatile overall and a better team player, he personally does suffer from range problems.
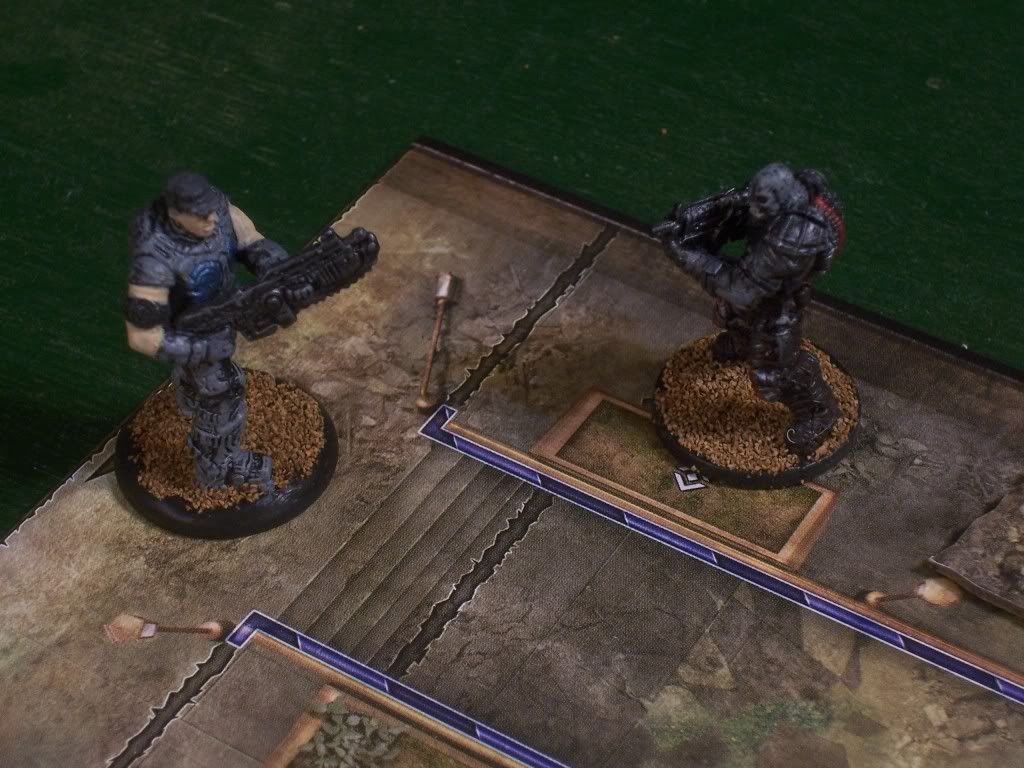
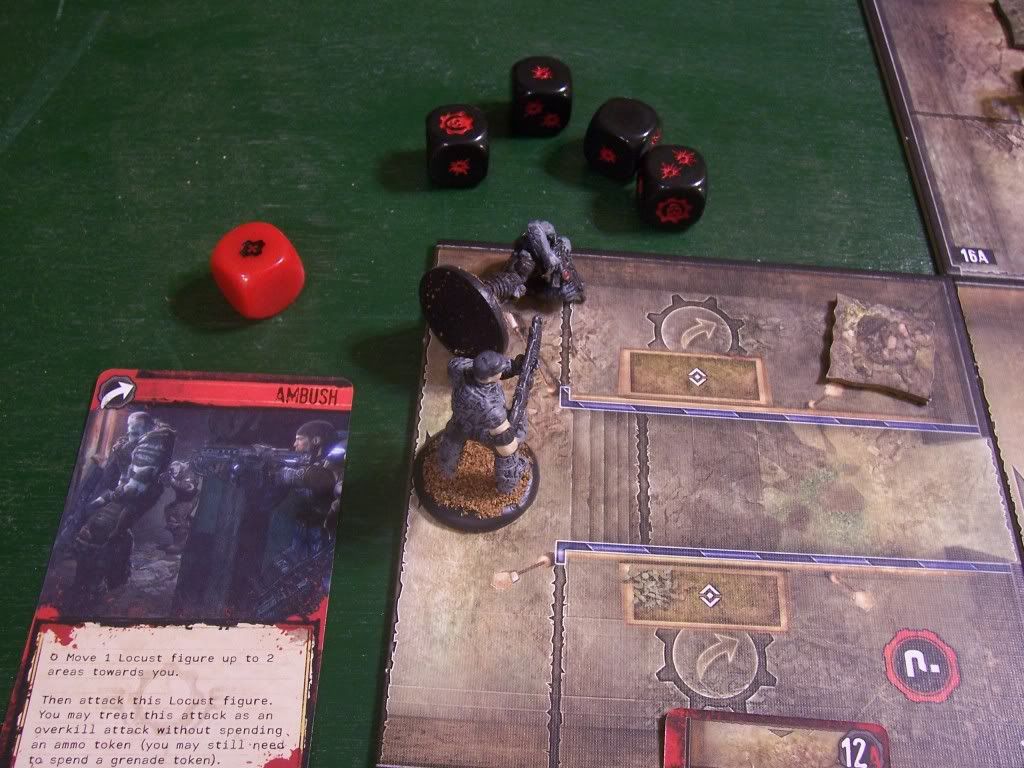
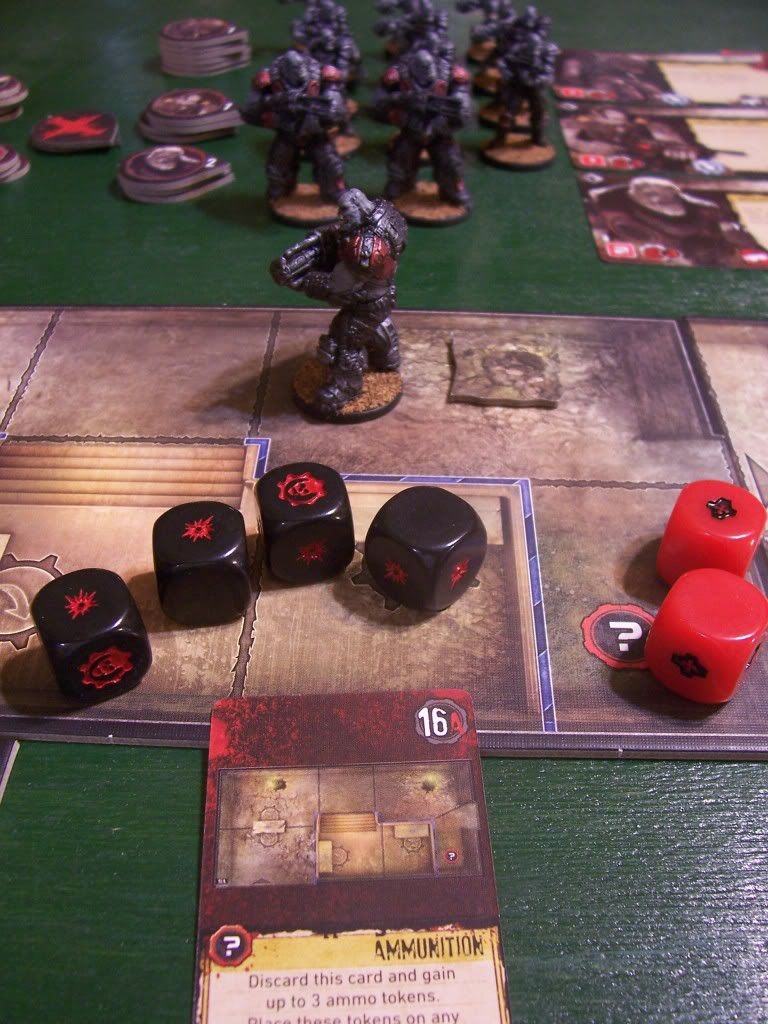
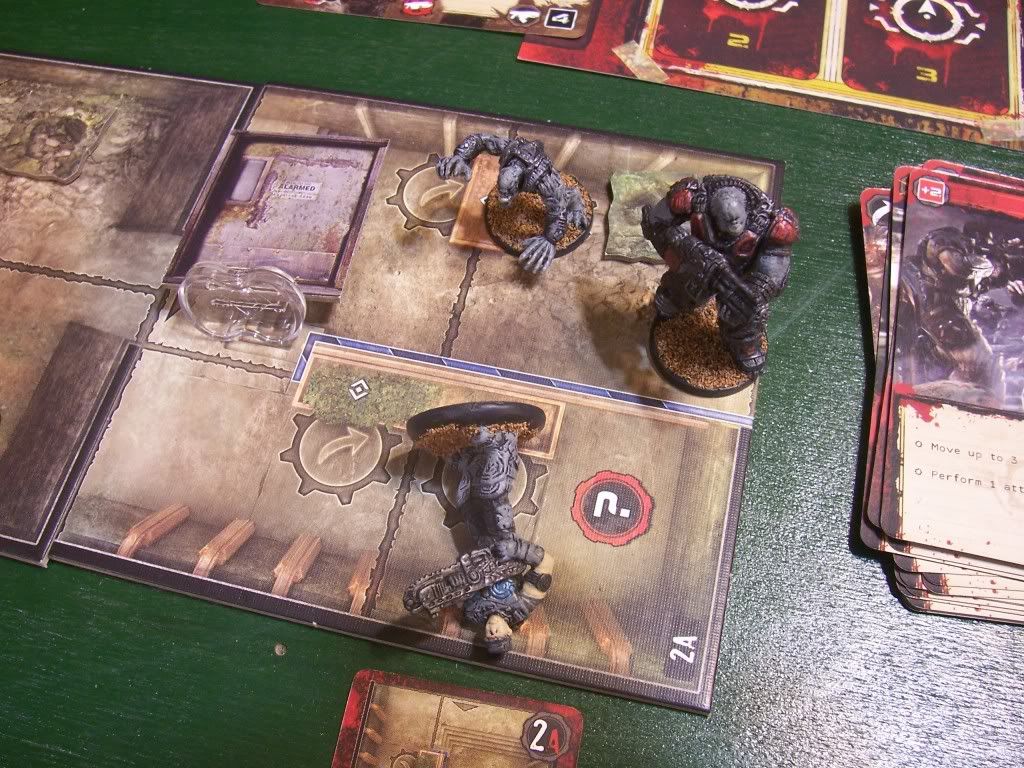
Turn 1: Use ambush on locust drone in adjacent space. Since Col. Hoffman starts with a Gnasher Shotgun, this is an extremely powerful combo. Six hits! That’s one dead grub. The Drone drops a Hammerburst, a very lucky first turn drop. This will go a long ways towards countering the fact that Hoffman starts out as a very short ranged character.
Locust Turn 1: All locust on the board, currently three Wretches and one Drone, move to four areas away from Col. Hoffman. Then, a Boomer spawns near the exit.

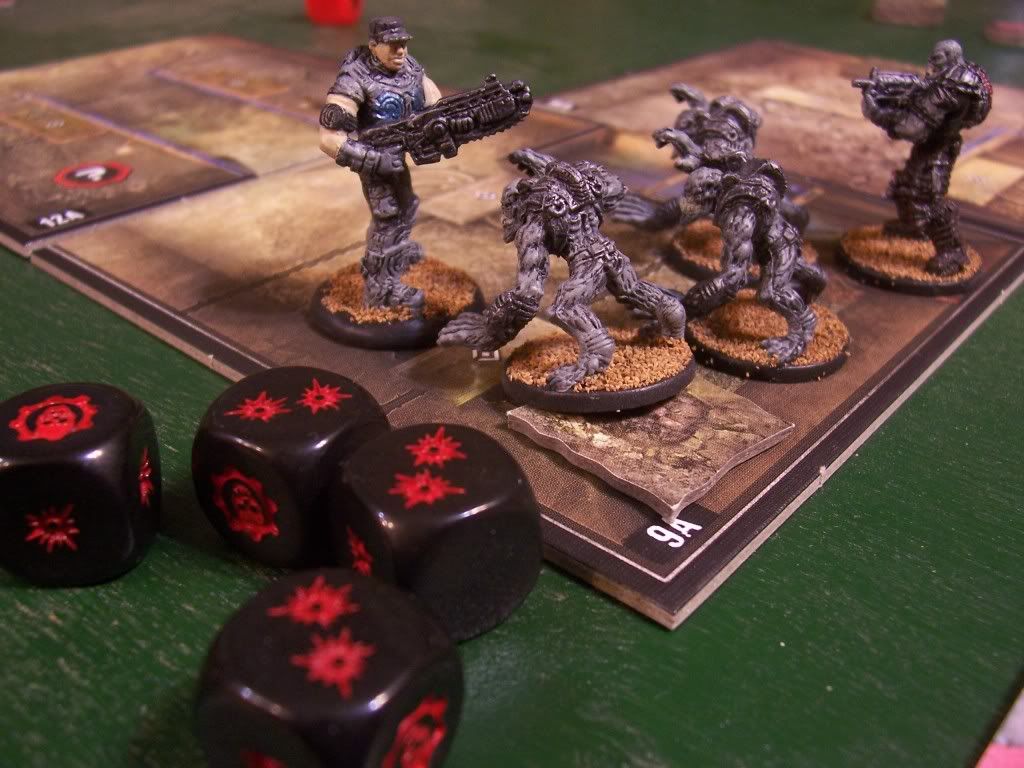
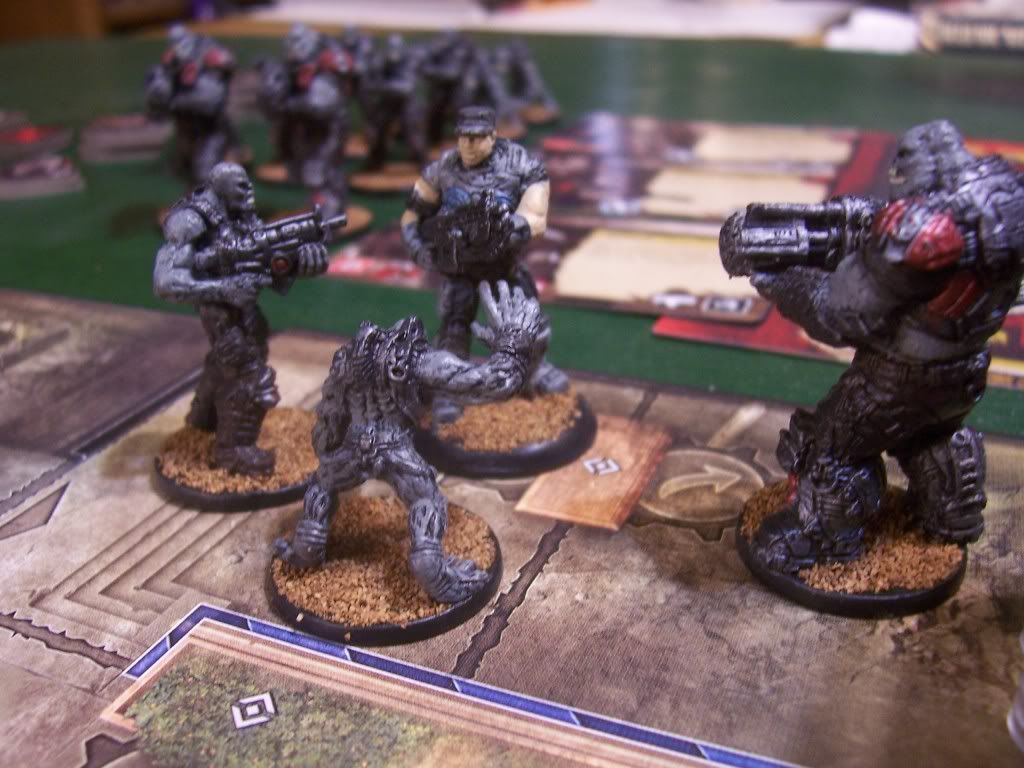
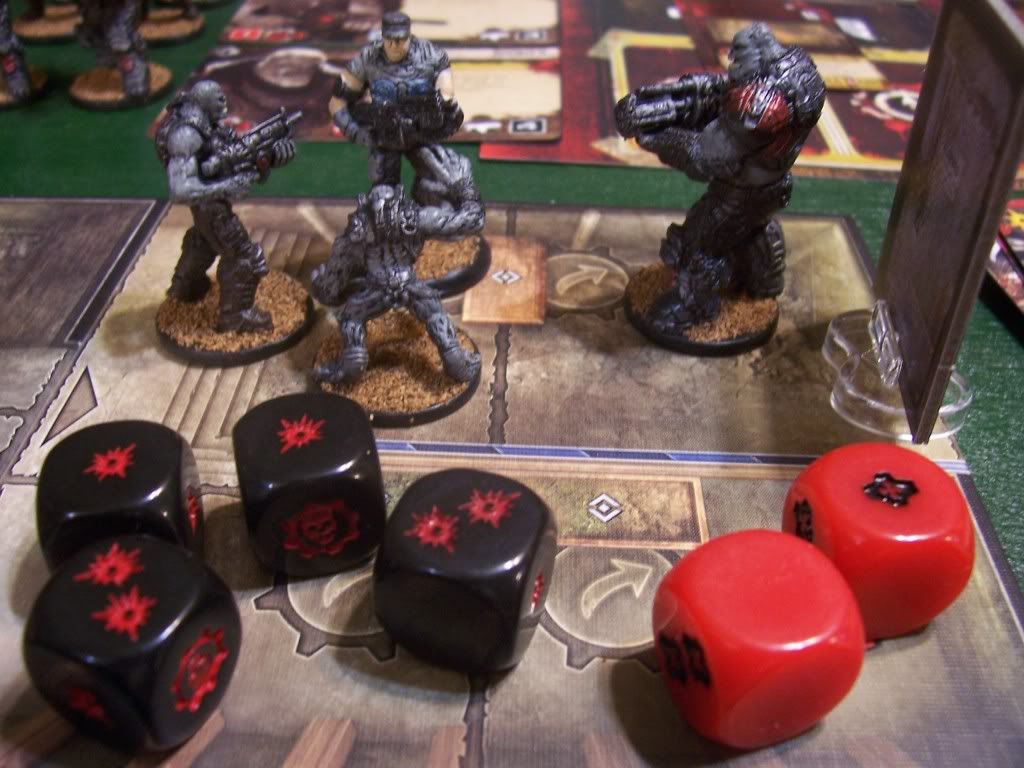
Turn 2: I had been planning on moving over to the equipment area to pick up a few more grenades on my way this turn, but the Locust rushing up to greet me all in the same area like this is just too good to pass up. I play assault to move three areas and then make an attack, tossing a grenade in at the unruly mob. Again, six hits!!! With area of effect attacks, you only roll the attack once, and then each enemy rolls defense separately. But since all four Locust in ths attack only get one defense die, that means they all go down. A worthwhile investment for one of my starting grenades, methinks. Then, I use a “Follow” action from my hand. In multiplayer games, this lets you move along with another Gear, but since you can’t do that in single player instead it lets you shift up to one space. Since the Col. seems to be feeling lucky taking on all of these punks, I’m going to risk rushing up further with just his one remaining grenade. Since I have a lot of attack cards in my hand, I also use Hoffman’s special ability to discard one of them in the hopes of getting a card with a “Guard” icon on it, which I do.
Locust Turn 2: The only locust model left on the board, the Boomer waaaay at the end, advances towards me! A whopping one space.
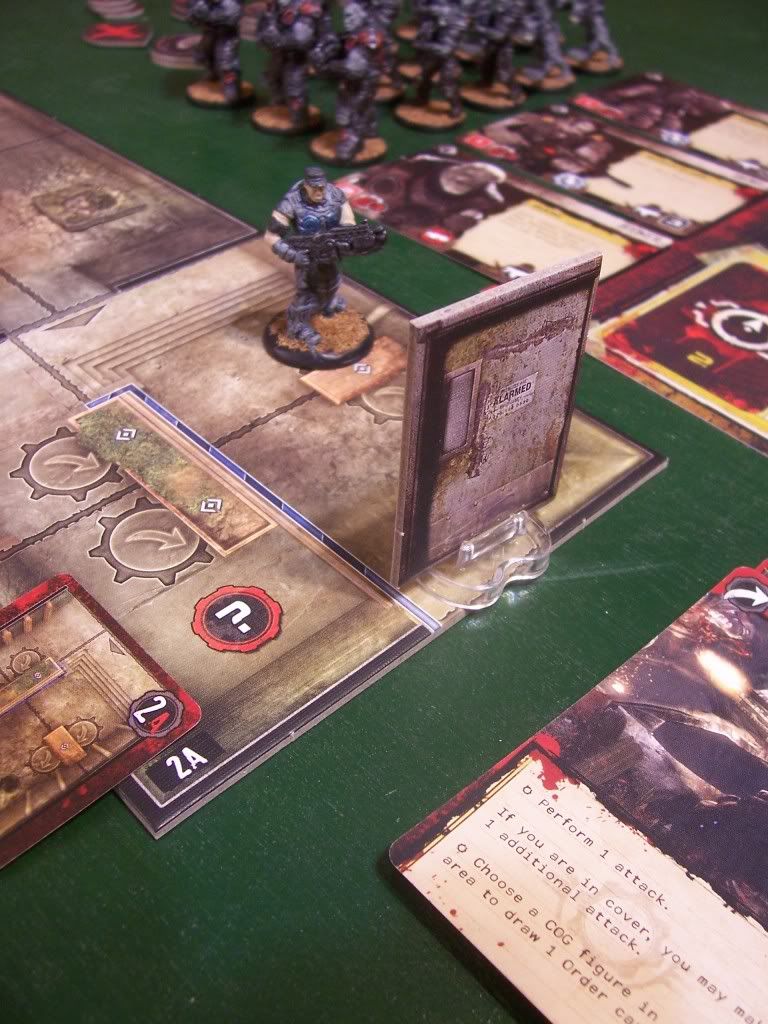
Turn 3: I use my freshly-drawn “Scavenging” action card to move up two squares into cover and snag another ammo token for my Gnasher shotgun. I’m hoping to keep around three ammo tokens on my Gnasher for the end of the mission where the last wave of baddies spawns, and have a “Slaughter” card in my hand that I’m hoping to use with it to take them all down in one fell swoop. At this point I have five cards in my hand, so if I wanted I could spend another card to shift forward and still be at my full six health next turn when I draw. However, even though the boomer on the table has already used two of its action cards from the deck, I’m not willing to risk getting shot by him with only one point of cover if I move. Instead I’m going to take the cautious approach and keep five cards this turn, and use one of them to shoot on Guard if anything moves my way. If only I had a certain communications specialist on my side to tell me what was going to happen… hmmm. :-)

Locust Turn 3: All Locust in play (i.e. the Boomer) move to three spaces away from me. Then, the Boomer prepares to attack! Good thing I kept that card to make a Guard attack with. Since the Boomer is too far away to hit with my Gnasher, I burn an ammo token on my shiny new Hammerburst. Clearly the Colonel thinks he has nothing to fear from the slow, ungainly Boomer, as he lets rip with his Hammerburst for two wounds and an Omen, bringing the total to four hits. The slow, ungainly Boomer tries to avoid the attack, but only rolls a total of one on his defense, so he too goes down.
Turn 4: Drawing back up to six cards, I get another Guard reaction, which is good as I’m nearing the emergence hole at the end. However, I don’t really have any good movement cards right now. I could move and also spend a Follow action to move an extra space, but that would still leave me in the open on this big ol’ board section. So instead, I call upon Hoffman’s special ability again, swapping an attack card for a new one… which happens to be “Explore.” This card lets me move four spaces and pick up equipment without having to spend an extra card. There is an equipment space four away from me, but it’s in the open. However, with this card in particular I’m willing to risk spending an extra card to shift one space into cover, since that will get me exactly where I want to be to finish off the scenario AND will give me three extra ammo tokens. I strongly dislike going to four cards on my turn since I may need to use one in reaction, but since there are no locust on the board and I’ll end up properly armed and in position, I’m okay with it.
Locust Turn 4: Awww shoot. Reinforcements. I now have a Wretch and a Drone in my space, and a Boomer standing over the emergence hole.
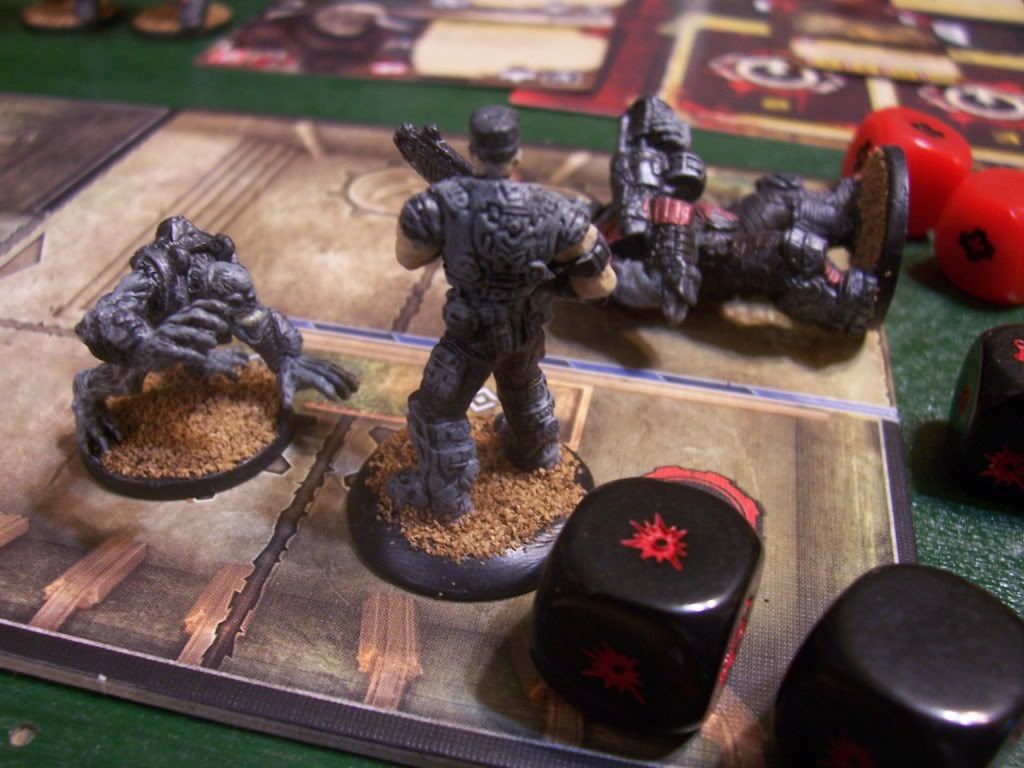
Turn 5: Now things get dicey. I know that as soon as I close the e-hole I’ll have another Wretch and another Boomer to play with. I also have three models near enough to attack me right now. So while I had been hoping to spend my slaughter card on the last wave of attackers, it looks like I should spend it now to clear the path instead. But first, I’m going to shoot with “Active Reload.” This lets me make an attack, and if I use an ammo token I get to take another full action. So I unload the last round from my Hammerburst on the Boomer next to me, and get another six wounds because Hoffman is a beast like that! I then “Slaughter” the remaining two enemies, burning through two more ammo for my Gnasher.
Locust Turn 5: Two Wretches spawn on the e-hole. Oh noes! Because it’s not like I was planning on…

Turn 6: …Tossing a grenade on that spot anyway. I shift to the elevated cover by the doorway with the equipment, and fingers crossed, toss a grenade on the e-hole, sealing it with yet another six hit attack and an omen. The door crashes open, and a pair of locust come charging through the smoke!
Locust Turn 6: Distracted by the flying door and the smoke, Hoffman drops some of his pistol ammo in the confusion. Then, hearing a thunderous voice saying “BOOM!” he rights himself from the floor and takes a shot at the Boomer. The shot goes a bit wide, only getting four points, but the Boomer is caught off guard by Hoffman’s sudden return fire and this is enough to bring him down before he can bring his weapon to bear. Then the Wretch shifts around to flank Hoffman.
Turn 7: Hoffman turns towards the last remaining enemy, and Charges! “Charge” lets him move one area and then make an attack against a figure in your area with an extra attack die. Unloading a final, resounding shot from his Gnasty Gnasher, Hoffman does a whopping ten points of damage to the poor little wretch.
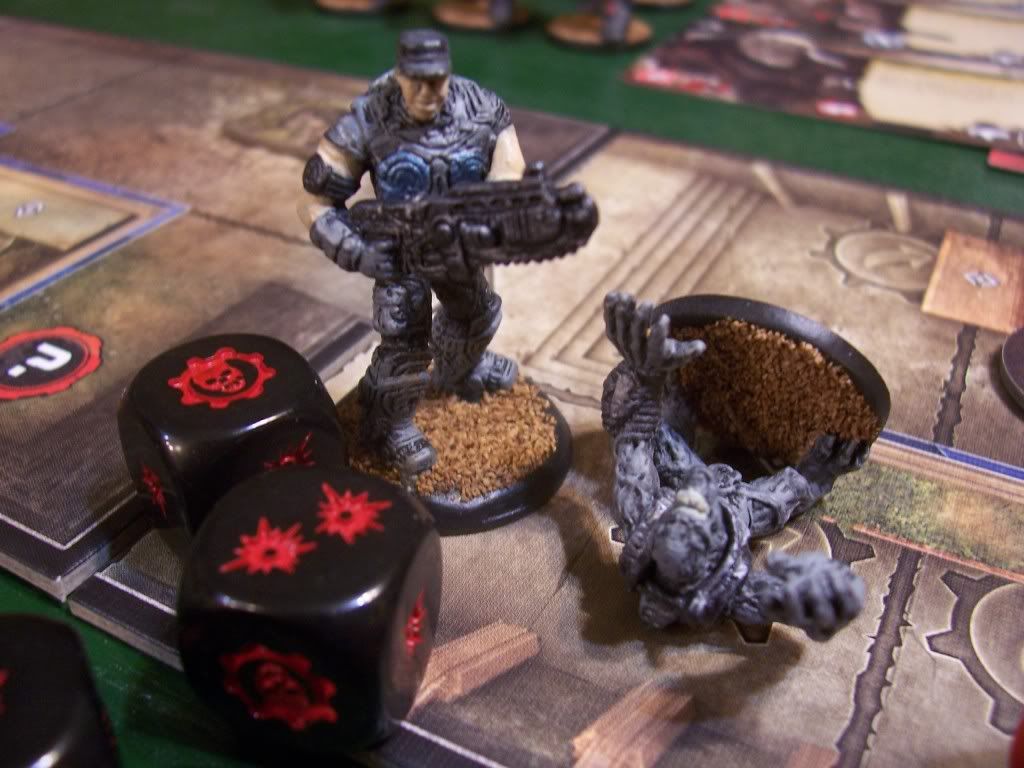
Game over, man. Game over.
No comments:
Post a Comment